Gorilla Tape Cordage:
As I prepare to put my Pocket 10 C's Kit (LINK) to a 72 hour survival challenge in which I expect it to provide everything for survival in the eastern woodlands I have begun to test a few of the materials contained in the kit to get their capabilities out of the way to hopefully shorten the length that the pocket survival kit test run will end up being. Last week I made a Gorilla Tape Container (LINK) and this week I plan to test the same material as another one of the 5 C's Cordage. If successful I will have 3 of the 10 C's all wrapped around one of my old business cards at the ready.
I ended up testing two different means of using the tape as cordage: a 3 piece braid and a simple rip the tape in two and fold it over on its self. Of the two the braided is without a doubt stronger (by a long shot, as we had two healthy guys pulling at each end and couldn't get it to break but only stretch!) but the other cordage provides a much easier material to work with and has a breaking strength close to a bad twine (stuff you see me use for demonstration purposes a good bit). While I wouldn't want to rappel with this stuff I would trust the braided cordage for building a shelter or a raised bed and the lesser cordage for doing anything that isn't going to bear a weight of 50-75 lbs (although the tripod I made with it did hold me for the 15 or so seconds I hung from it). So with all that in mind lets get to how I made the cordage and some pictures of the testing.
Braided Gorilla Tape Cordage:


Simple Gorilla Tape Cordage:
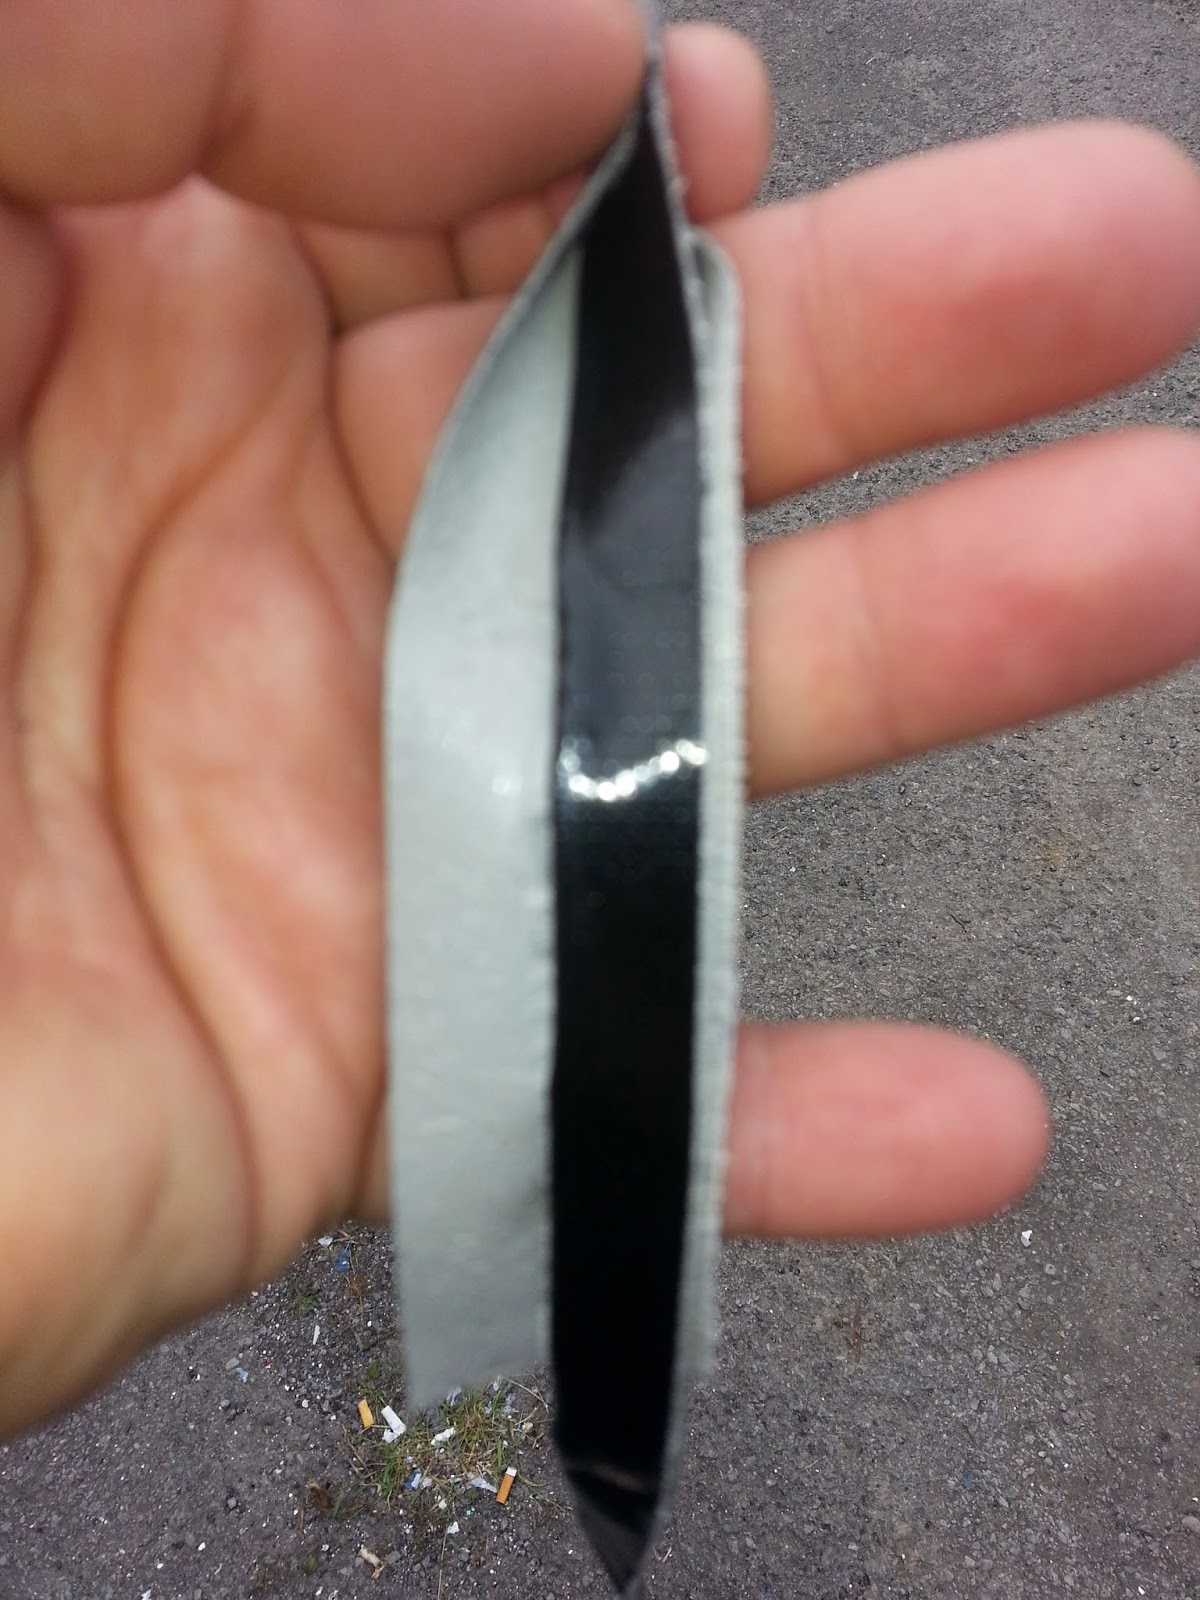
1) As is step one in the above cordage you cut the tape in half and then fold onto it's self but this time leave about 3" of space at the end to splice your sections of cordage together.

Testing Gorilla Tape As Cordage- Practical Applications:


5) Just a sky view of the same to show its actually hanging from the Gorilla Tape lashed tripod.
Overall I would say that the Gorilla tape cordage is a go for light weight lashing and the braided cordage is good for heavy lashing but not quite climbing quality rating. I have no doubt that Gorilla tape will easily serve as both cordage and a container within my 10 C's Kit (LINK) and I look forward to putting them to the test in my upcoming 72 hour survival test.
http://www.topprepperwebsites.com/vin.php?s=7ps
You are only able to vote once DAILY using this site! Currently we are just outside the top 35 on this site.
AND
As always feel free to leave your questions and comment below! Also if
you enjoy the blog please vote for us on the following websites to help
us reach a wider audience:
http://www.topprepperwebsites.com/vin.php?s=7ps
You are only able to vote once DAILY using this site! Currently we are just outside the top 35 on this site.
AND
http://bestprepperwebsites.com/
You are able to vote DAILY on this site! We are currently ranked # 2 on this site!
You are able to vote DAILY on this site! We are currently ranked # 2 on this site!
No comments:
Post a Comment